Before You Go —Want a Free Hail Risk Assessment for Your Lot?
By submitting this form, you agree to our Privacy Policy
By submitting this form, you agree to our Privacy Policy
What to Expect During a Hail Netting Installation Project: Step-by-Step Overview
Updated
May 15, 2026
•
5
min read

Investing in a hail netting system is a smart decision for businesses looking to protect valuable outdoor assets—whether you're managing a car dealership, parking lot, vehicle fleet, or warehouse or industrial facility. But what does a full hail netting installation project actually look like from start to finish?
At HAIL NO®, we guide you through a well-orchestrated, multi-phase process to not only ensure your protection system is engineered for maximum durability and performance, but also that your construction experience is project managed perfectly. Below is a detailed breakdown of the phases involved in a typical project.
Pre-Construction Phase
Before any work begins on site, we start with extensive planning and coordination to ensure your system meets both structural and operational needs.
1. Design Coordination
- Initial Meetings with Owners
We meet with stakeholders to understand project goals, usage requirements, and site constraints. - Coordination with Architects
Our team collaborates with your architects to integrate the system into the property layout. - Engineering Consultations and Structural Analysis
Structural engineers study the local site conditions and design a system that accounts for soil conditions, local wind and snow loads to ensure the system is safe and up to code. - Finalization of Design Specifications
All design elements are finalized, including dimensions, material types, column placements, and net configuration.
2. Permitting Process
- Preparation of Permit Documentation
We compile engineering drawings, specs, and site plans required for approval. - Submission of Permit Applications
We make sure all relevant documents are submitted to local building authorities. - Review Period by Authorities
Local officials review the application; this timeline may vary by region. - Addressing Requested Revisions
Any feedback or modifications requested by inspectors are addressed quickly by our team. - Final Permit Approval
Once all conditions are met, the green light is given to move forward with construction.
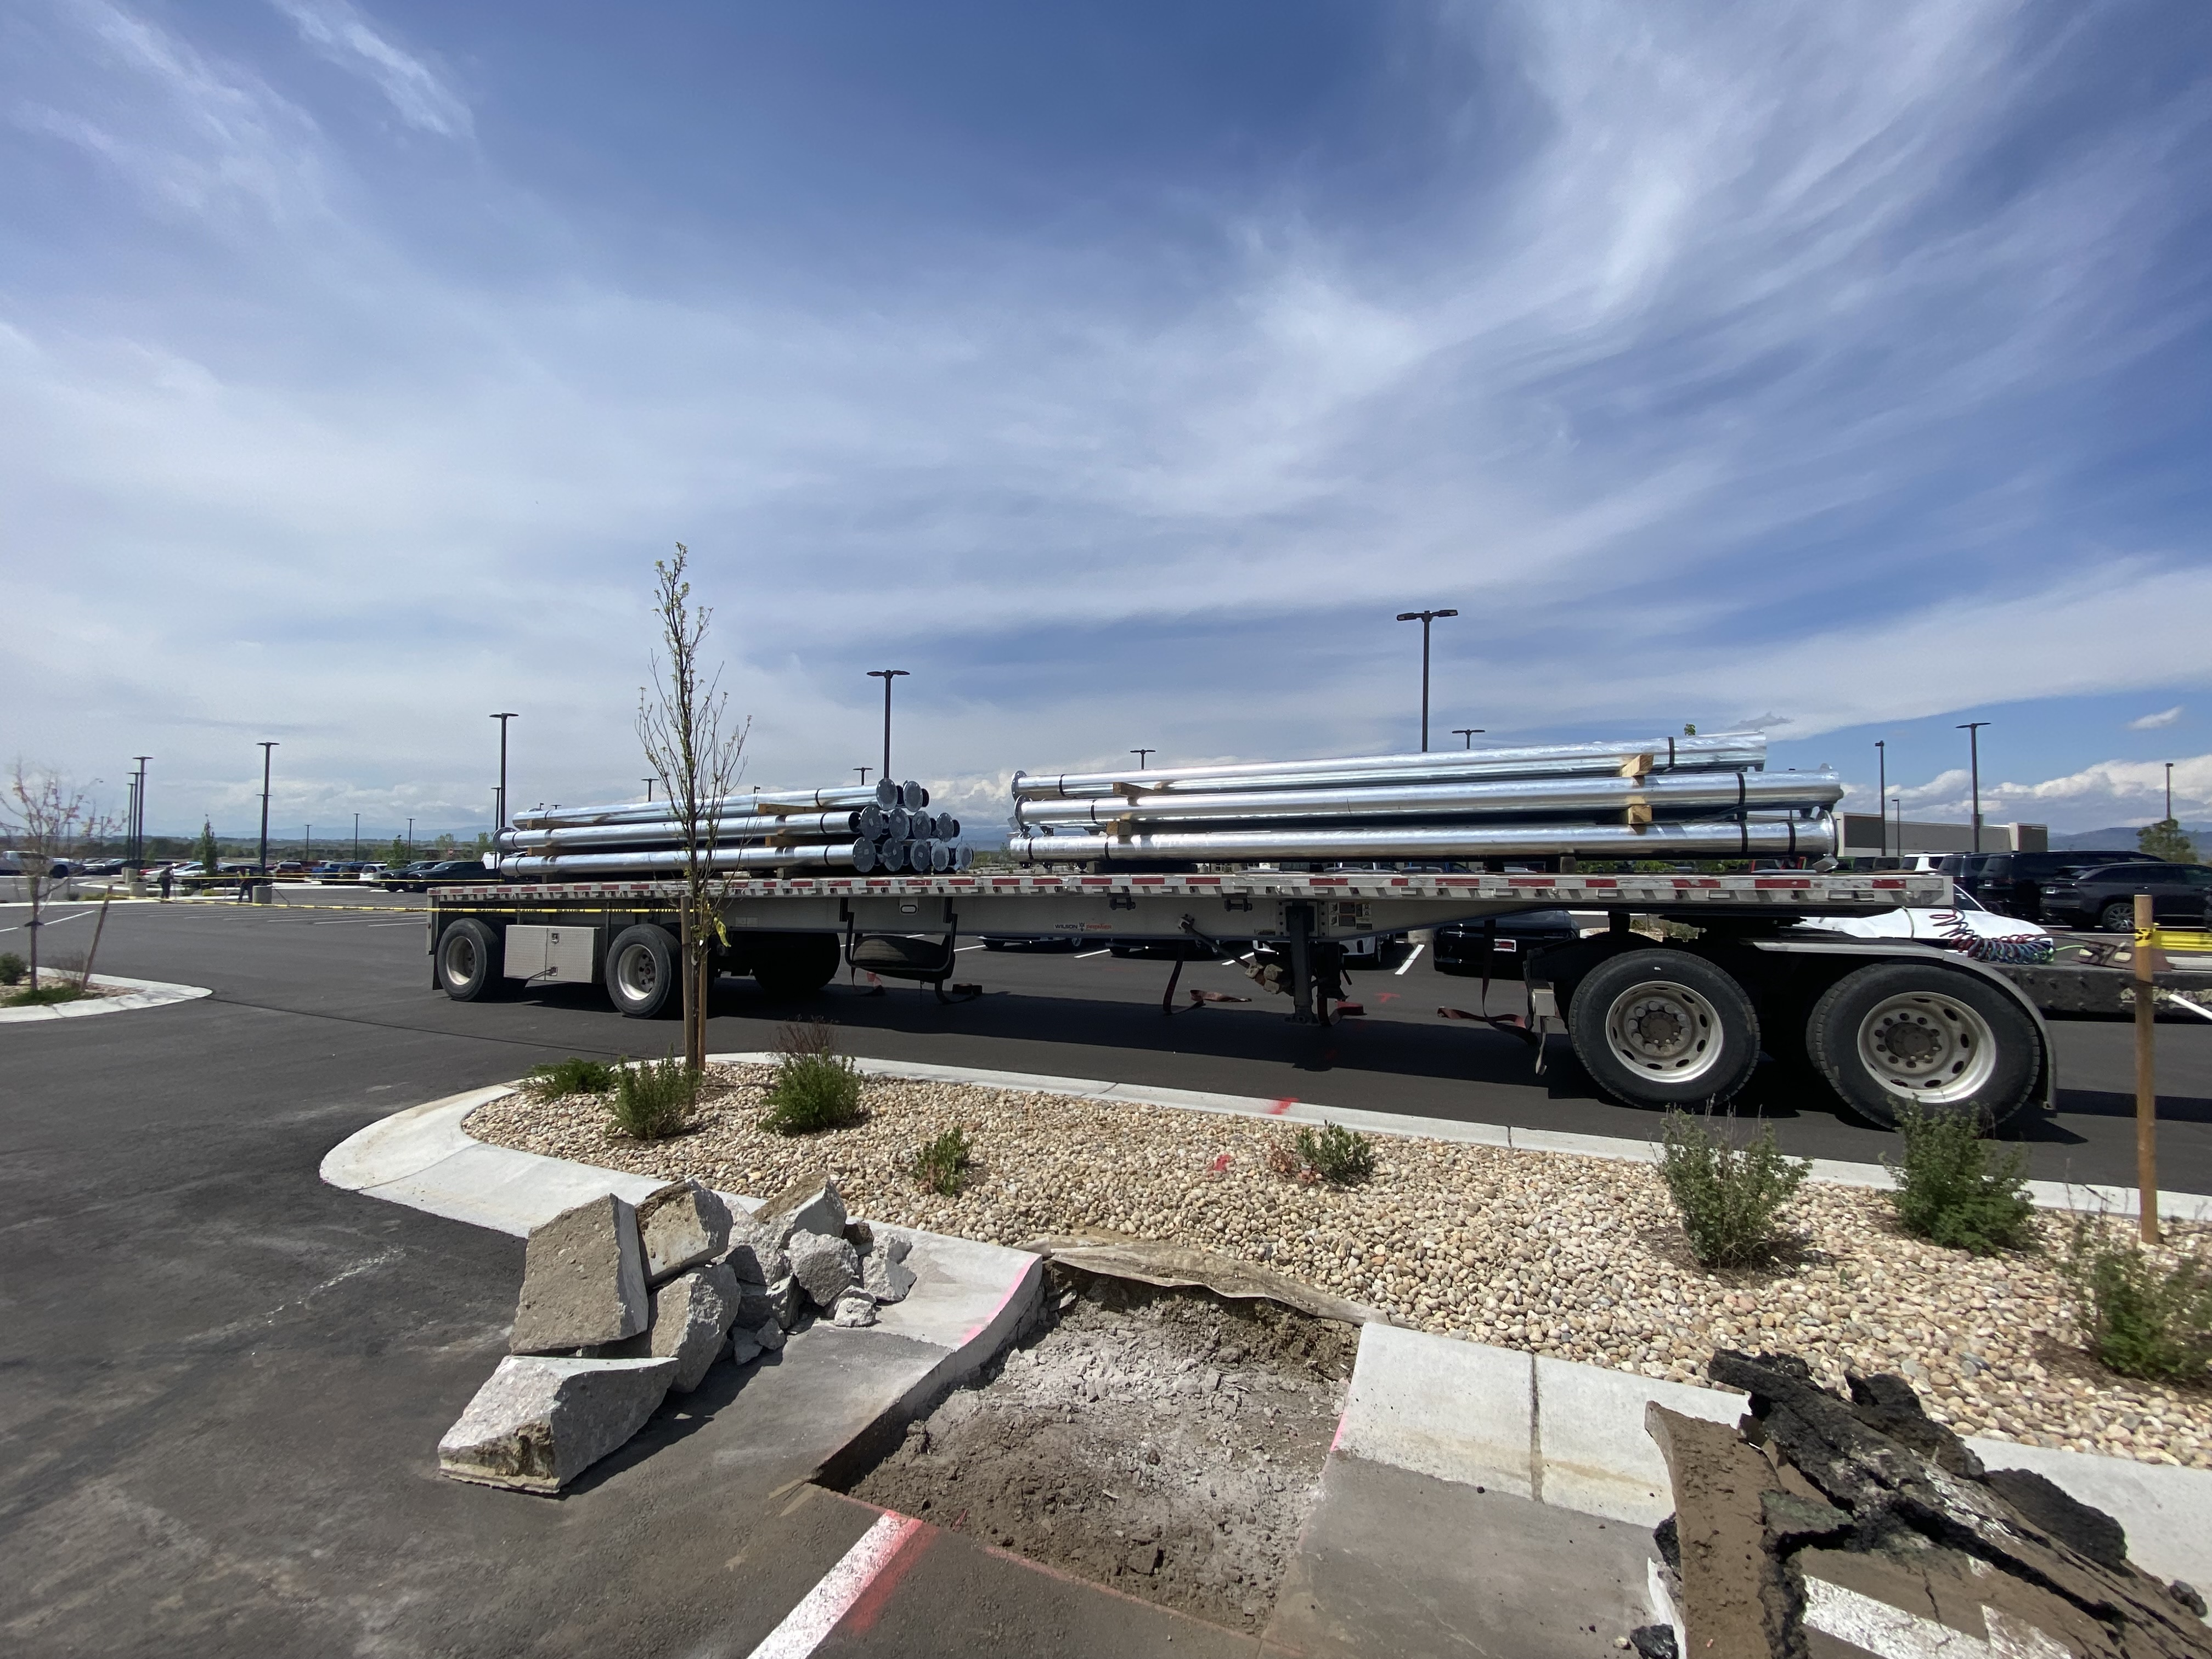
3. Resource Procurement
- Material Ordering
We source materials such as structural steel columns, reinforced concrete, cables, and netting. - Equipment Rental Arrangements
Equipment like scissor lifts, scaffolding, and mixers are reserved ahead of time to avoid any delays. - Scheduling of Specialized Labor
Crews are scheduled based on project phases and complexity. - Delivery Timeline Coordination
All logistics are aligned to ensure seamless progression from one step to the next by our Certified Construction Manager & Certified Project Management Professional (PMP)®.
Construction Phase
With the prep complete and permits in hand, we move into on-site construction. This phase is executed with precision and efficiency to minimize disruption to your business.
4. Site Preparation
- Site Marking and Layout
The exact footprint of the netting system is marked for excavation and column placement. We utilize ground penetrating radar systems to ensure the column layout does not conflict with existing underground utilities. - Existing Concrete Demolition
If necessary, existing pavement or footings are removed. - Debris Removal
The site is cleaned and prepped for excavation and foundation work.
5. Foundation Work
- Excavation of Column Holes
Precise holes are dug for footings and support columns. - Preparation of Bases
Forms and rebar are set according to engineered specs for structural integrity.
6. Column Installation
- Column Positioning
Steel or composite columns are positioned in alignment with the design. - Concrete Pouring
Bases are filled with concrete to anchor the columns. - Scaffolding for Support
Temporary supports hold the columns upright during curing. - Concrete Curing
Curing time typically ranges from 3 to 7 days for optimal strength. - Scaffolding Removal
Supports are removed once the concrete has fully set.
7. Measurement & Fabrication
- Precise Measurements for Cables and Nets
Actual field measurements are taken to guide final fabrication. - Cable & Net Fabrication (Off-Site)
Cables and hail netting are custom-fabricated to spec in a controlled environment. - Quality Control Inspections
Materials are inspected to ensure strength, fit, and UV resistance before delivery.
8. Final Installation
- Cable Delivery & Tensioning
Structural cables are installed and tensioned to create the support grid. - Net Delivery & Installation
Netting is installed, secured, and tensioned across the cable framework. - Final Adjustments and Testing
The system is stress-tested for wind, weight load, and impact resistance.
Project Completion
9. Final Inspection & Walkthrough
- Comprehensive Quality Check
We inspect all components to ensure compliance with design, safety, and building codes. - Client Walkthrough
We always do a final review with the client to make sure all expectations are met and questions are answered.
10. Project Handover
- We officially hand off the system, provide any necessary documentation or maintenance guidelines, and ensure our clients are 100% satisfied.
Built for Protection, Engineered for Confidence
Installing a hail netting system is an investment in resilience, asset protection, and peace of mind. At HAIL NO®, our structured project approach by certified professionals ensures every detail is accounted for—from pre-planning to final inspection.
Learn more about Hail No's projects.
Contact Hail No today for a free consultation and quote.
Get a Free Hail Risk Assessment for Your Lot
By submitting this form, you agree to our Privacy Policy